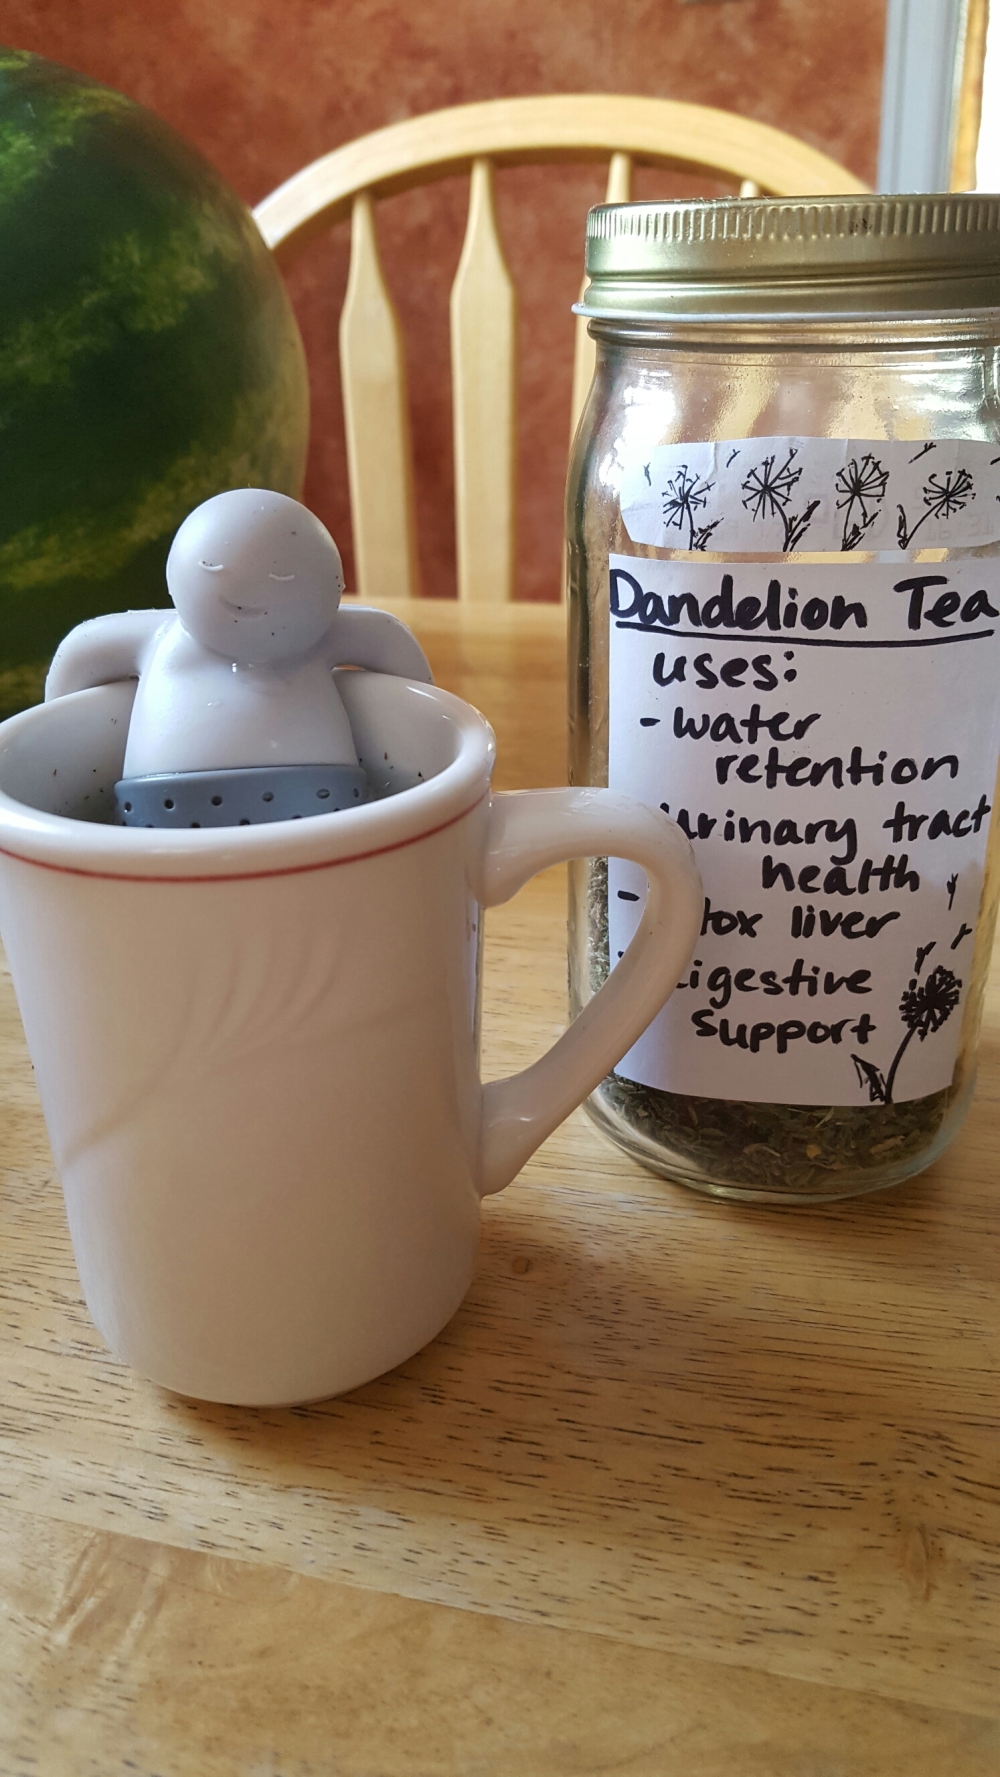
For my first ever blog post, I thought I’d write about one of my favorite hobbies, making bulk jars of herbal tea at home! Making your own tea can be very beneficial, it is fairly simple, fun and free!
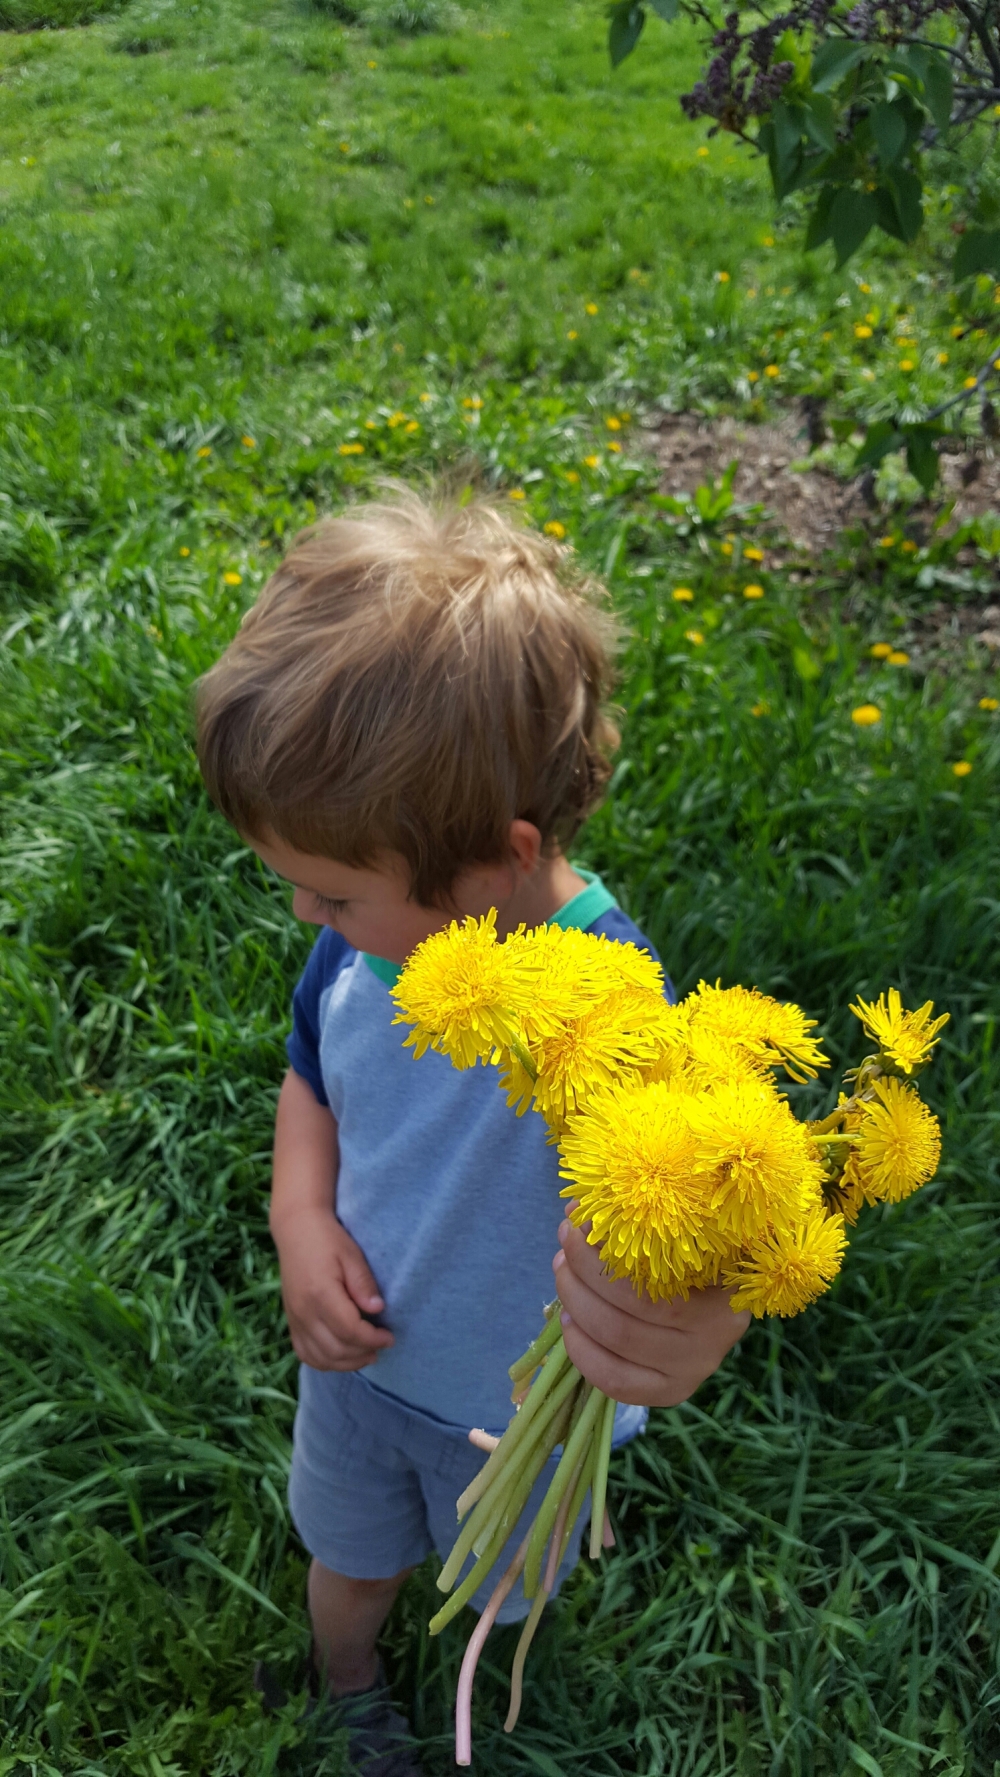
One particular plant you probably have been battling in your yard has some surprising benefits when made into tea. Dandelion is a wonderful resource as it produces a flavorful tea that is full of antioxidants and grows like a weed!
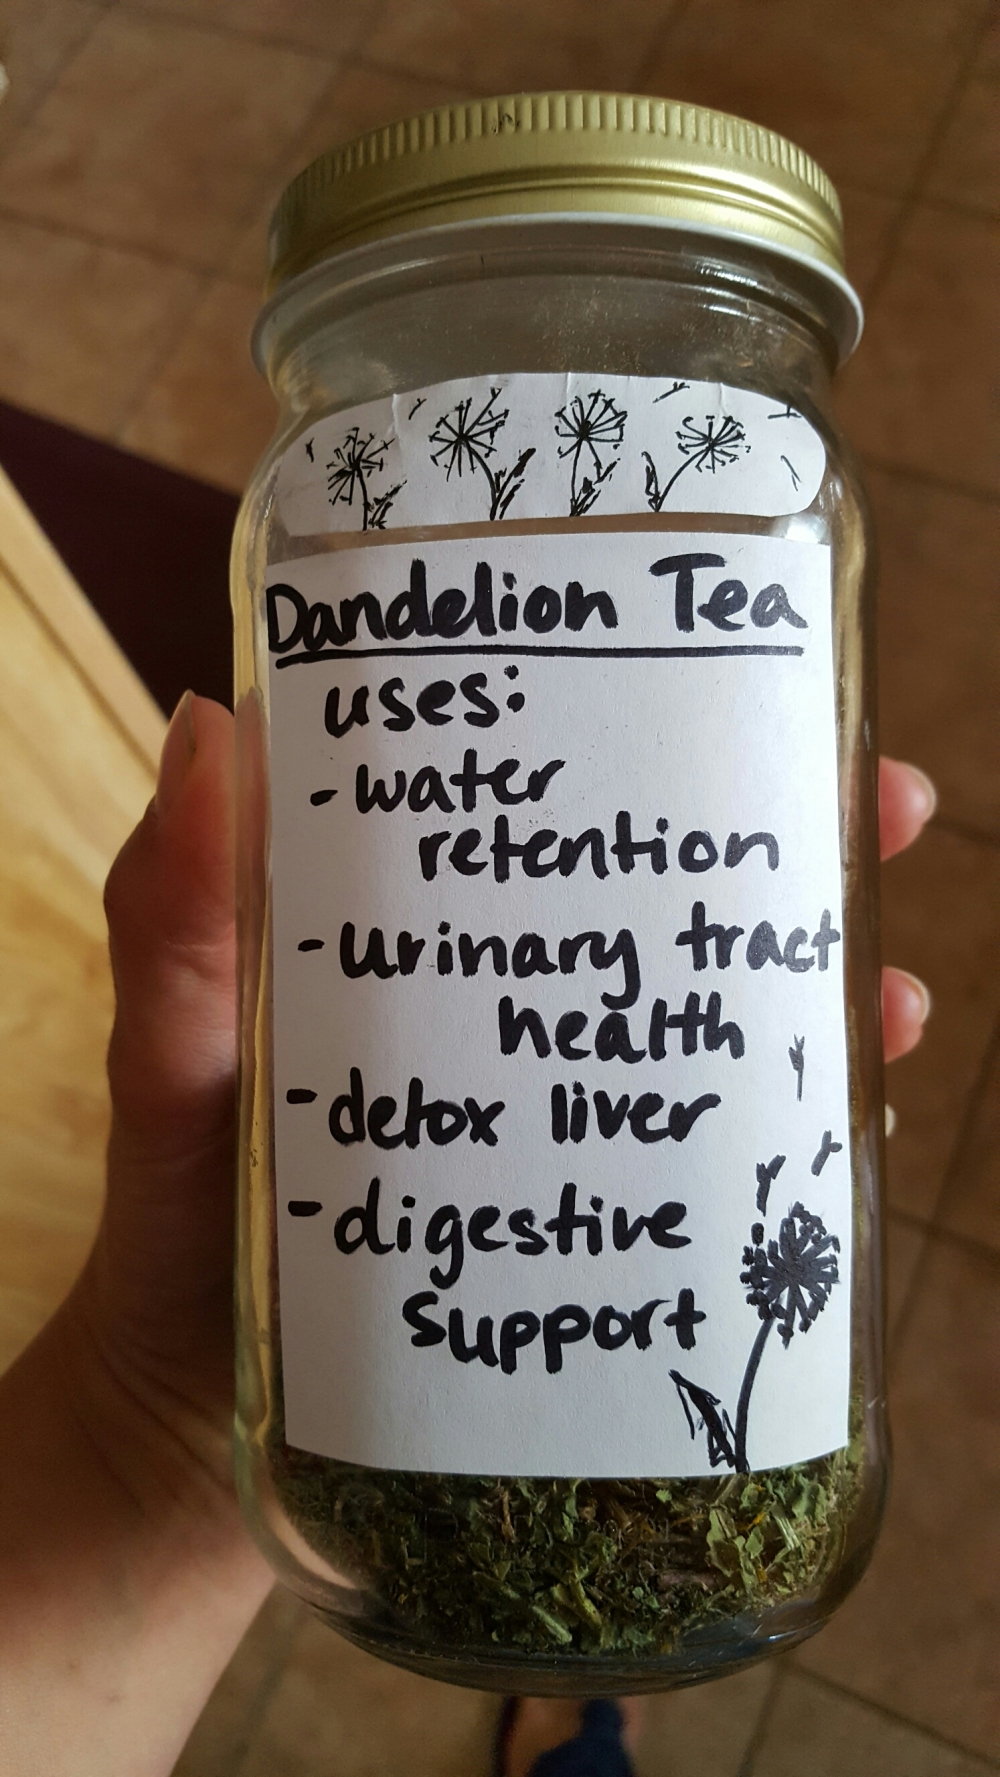
Some benefits of Dandelion include:
×Reducing water weight
(works as a diuretic)
×Believed to help reduce the risks of urinary tract troubles
×Help to detoxify the liver
×Promote a healthy stomach and digestive tract
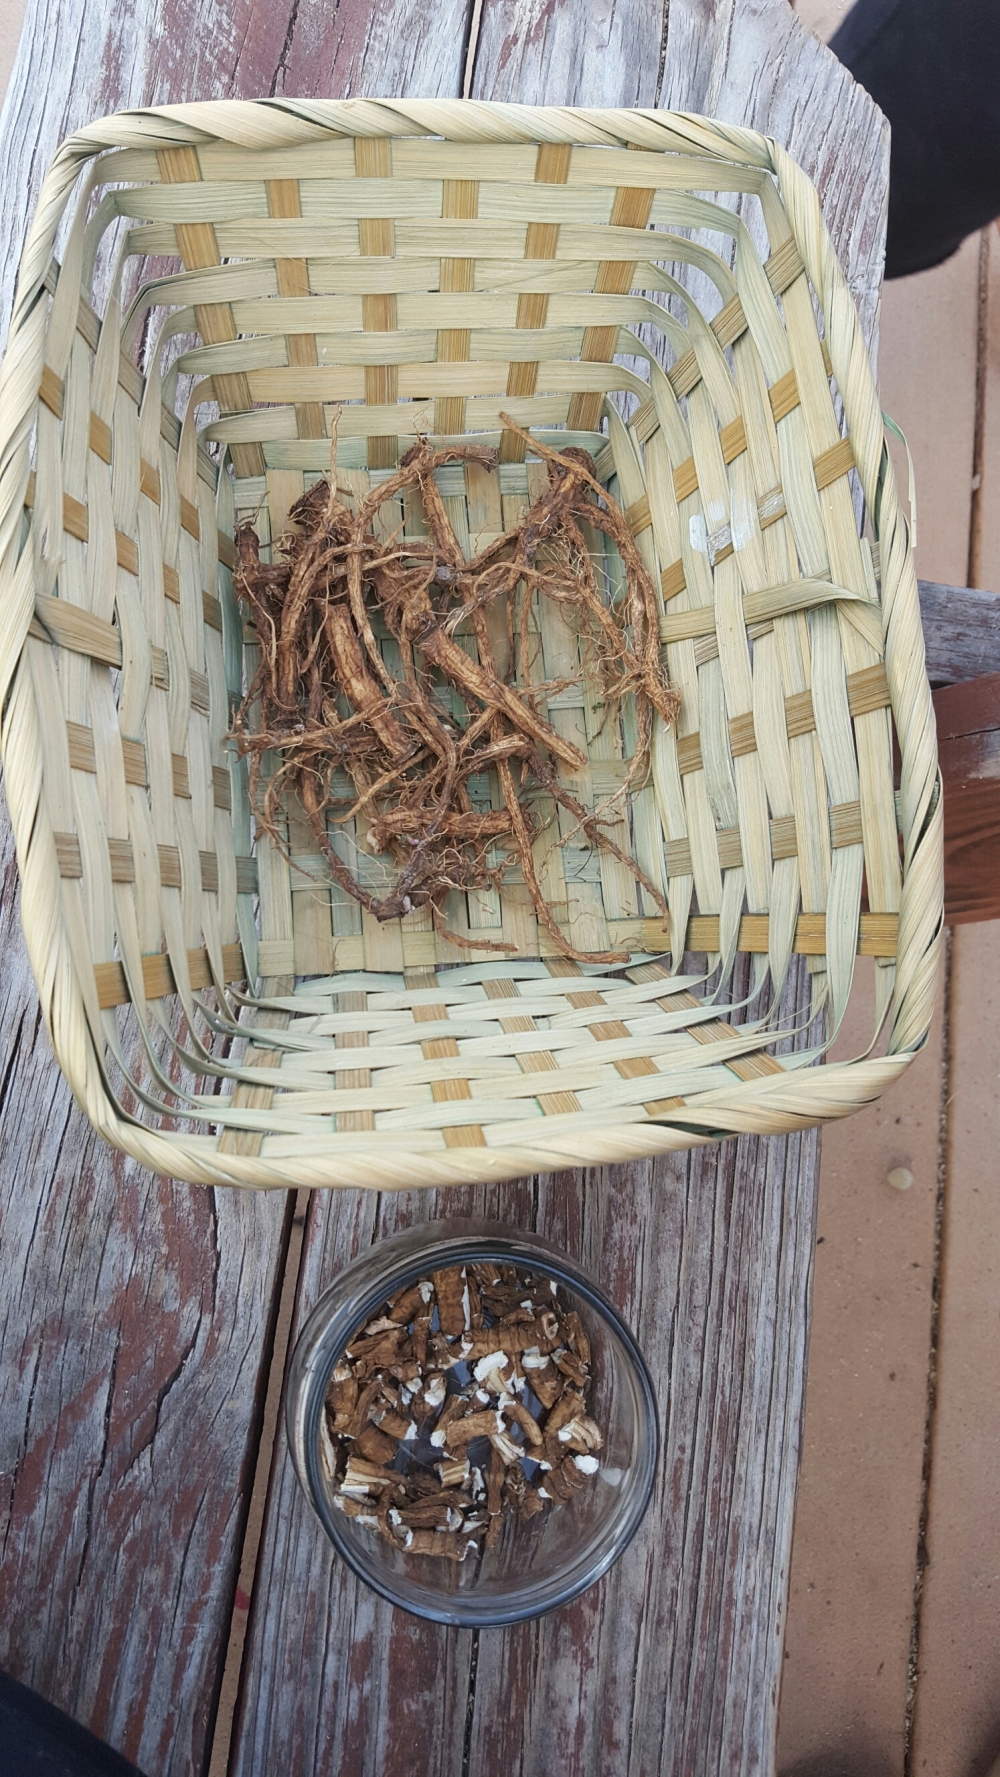
In the tea I make, I use the leaves and flowers. The root of the dandelion makes a strong coffee- like drink that is SUPER strong, and an acquired taste for sure. I harvest the root for other purposes, but I do not use it in my teas (it is WAY bitter and robust!)….
Anywho, this is how I make my own bulk dandelion tea.
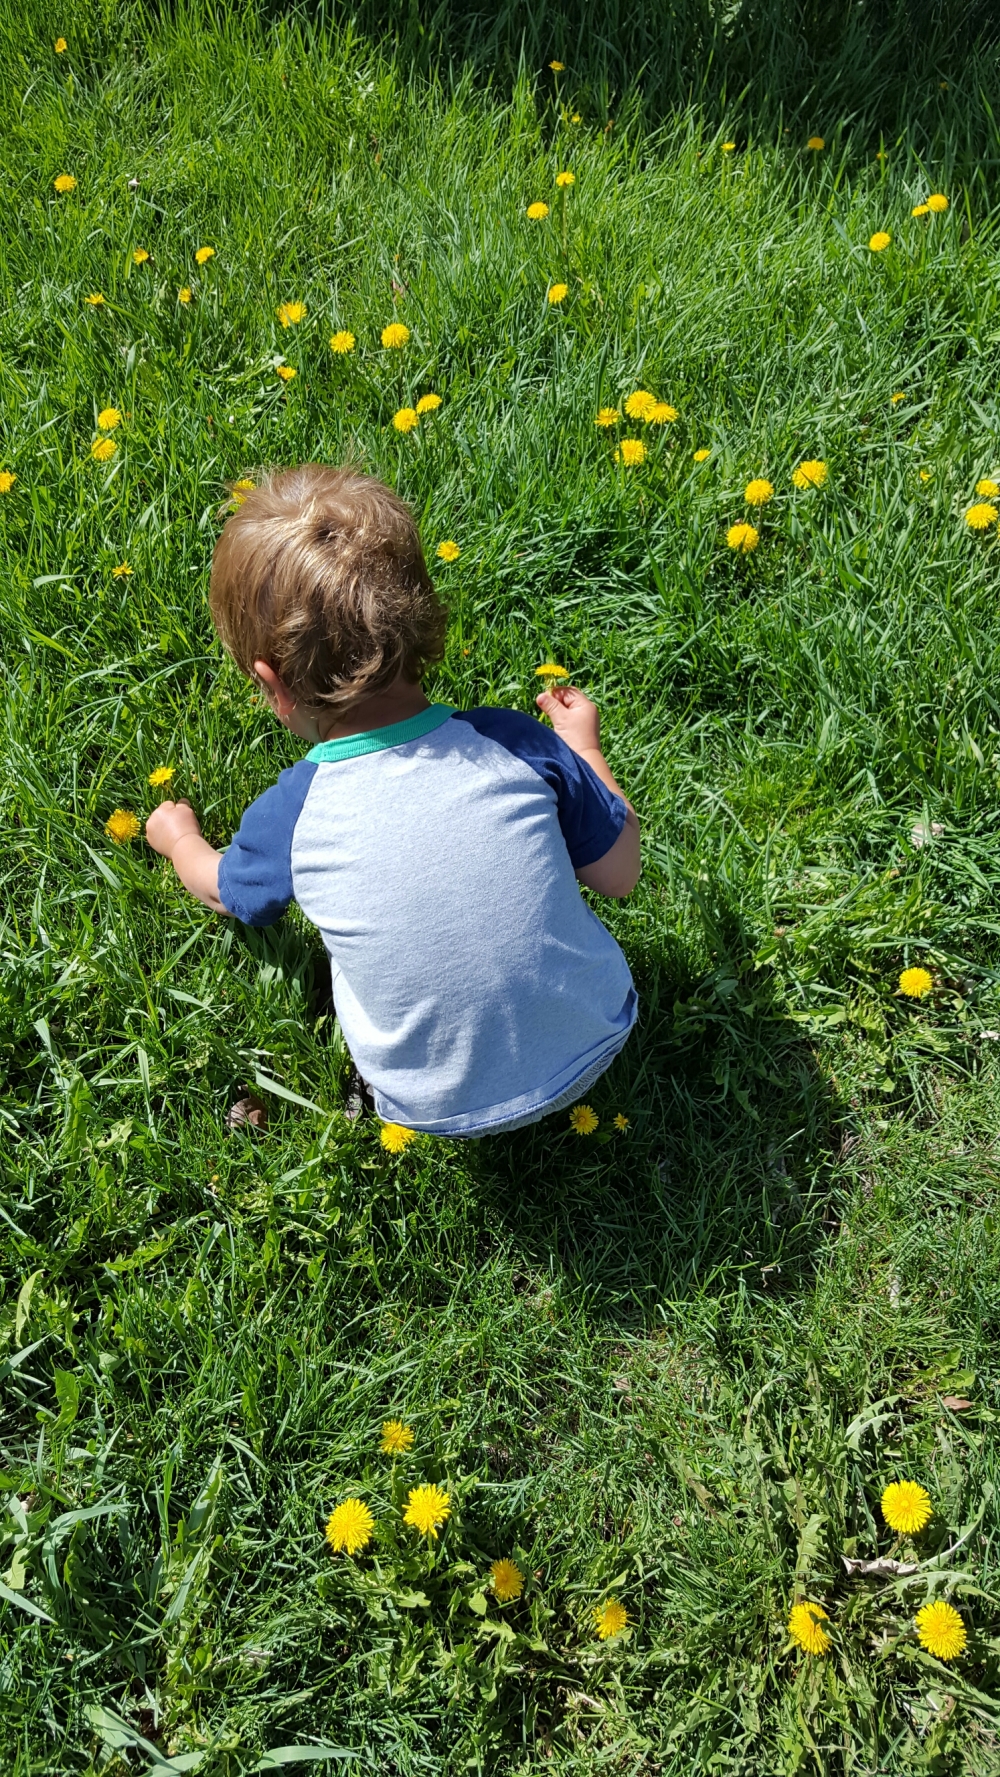
1. Harvest the dandelions, do NOT harvest plants that have any sort of chemicals or pesticides… Organic only! (Get the largest plants you can find, dig out the root if you wish).
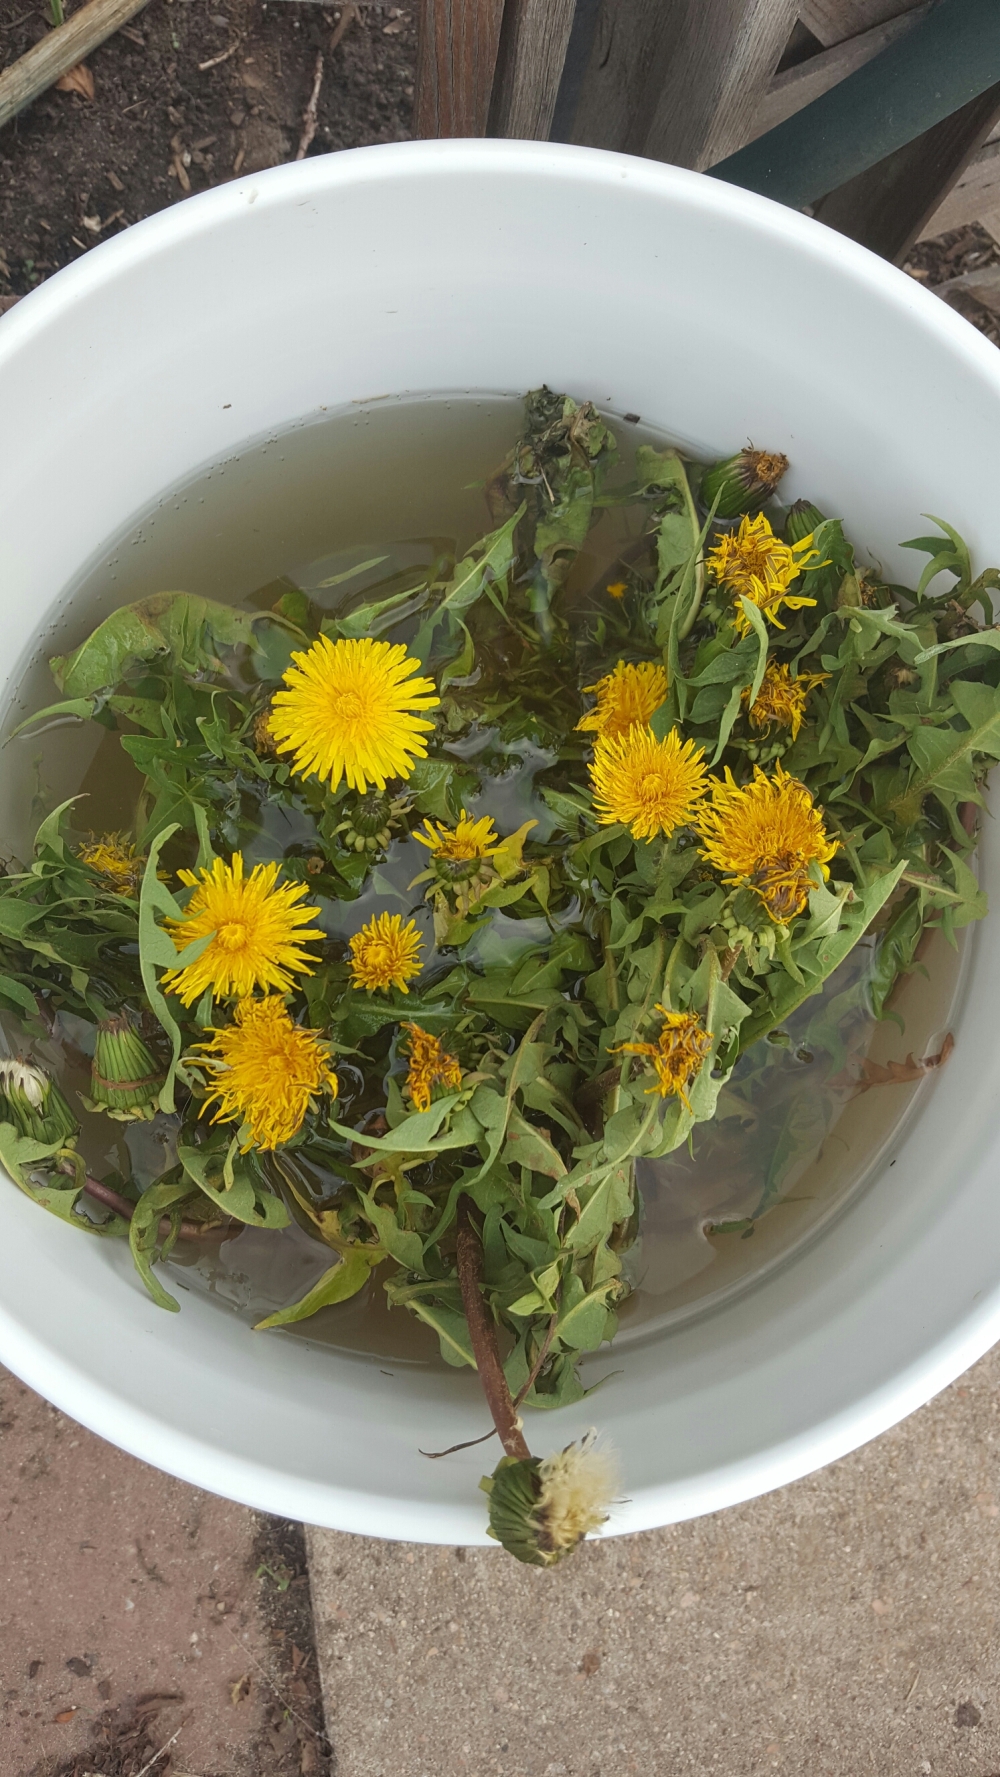
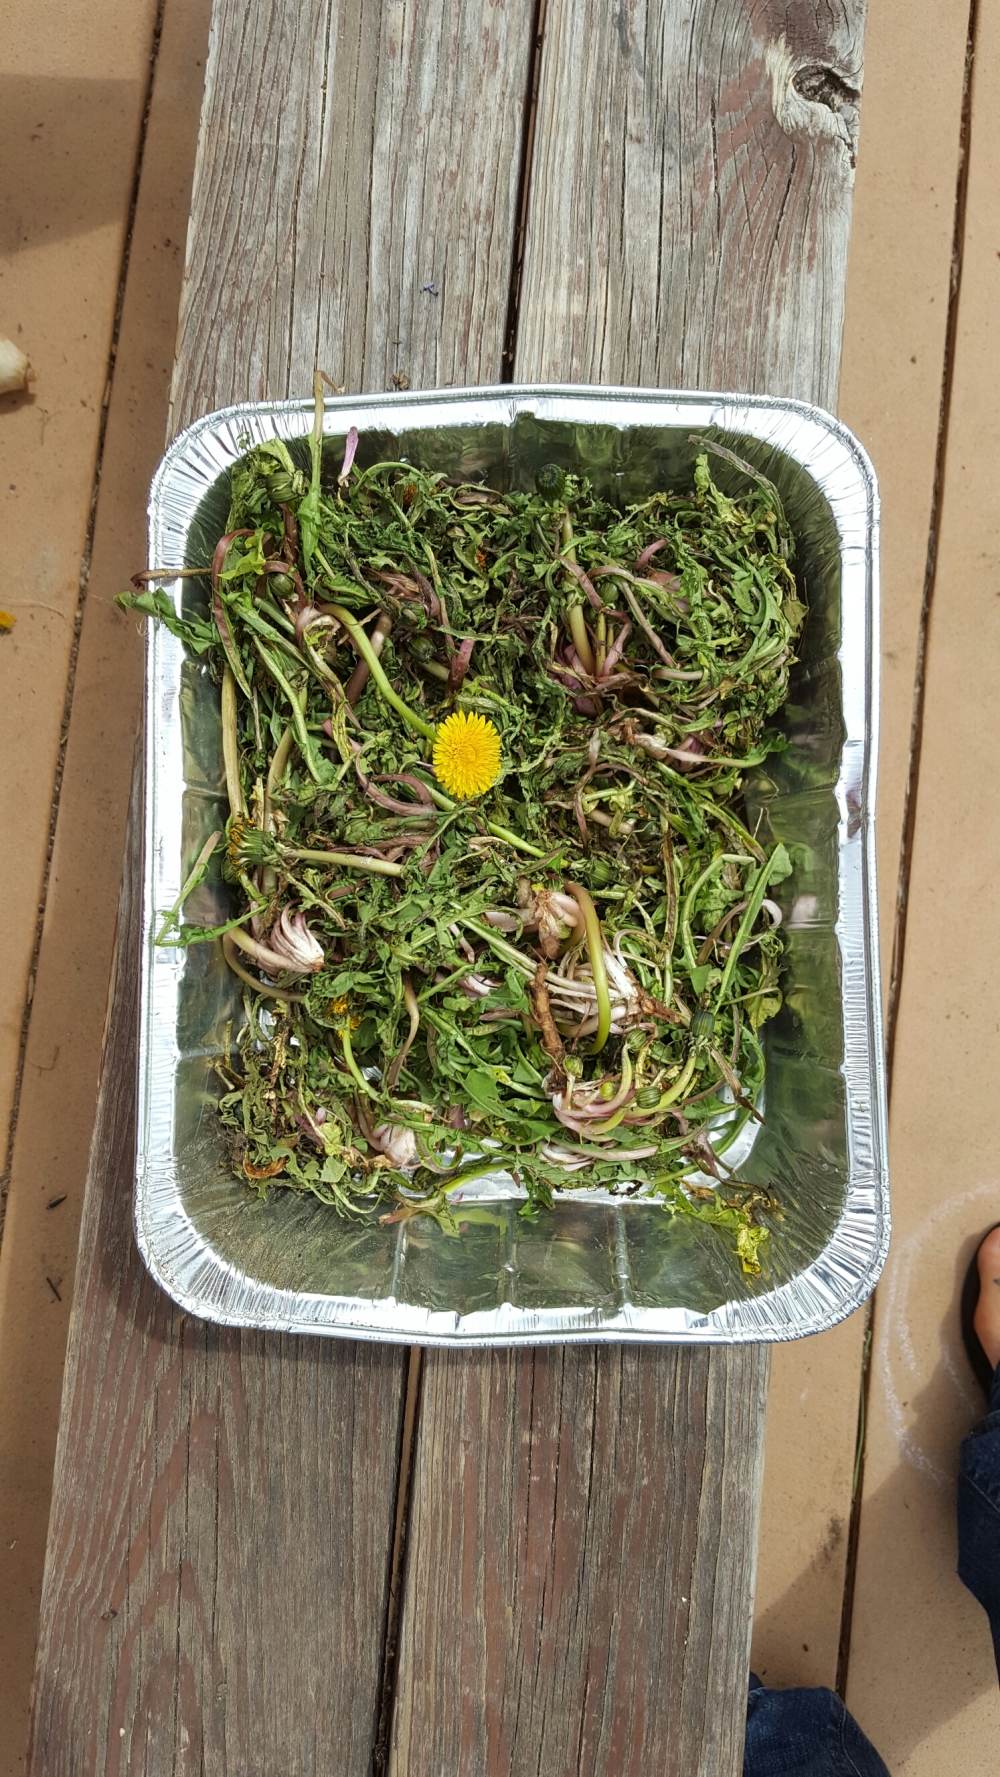
2. Soak & scrub the plants. This step is super important, as it will remove bugs, eggs and dirt from your plants. You can soak in a bucket, or your kitchen sink. I do this 2-3 times, soaking and washing, repeating until the water rinses clear.
3. Dry, dry, dry your plants. After the plants have been thoroughly washed, remove as much water as possible with paper towels, draining, etc.
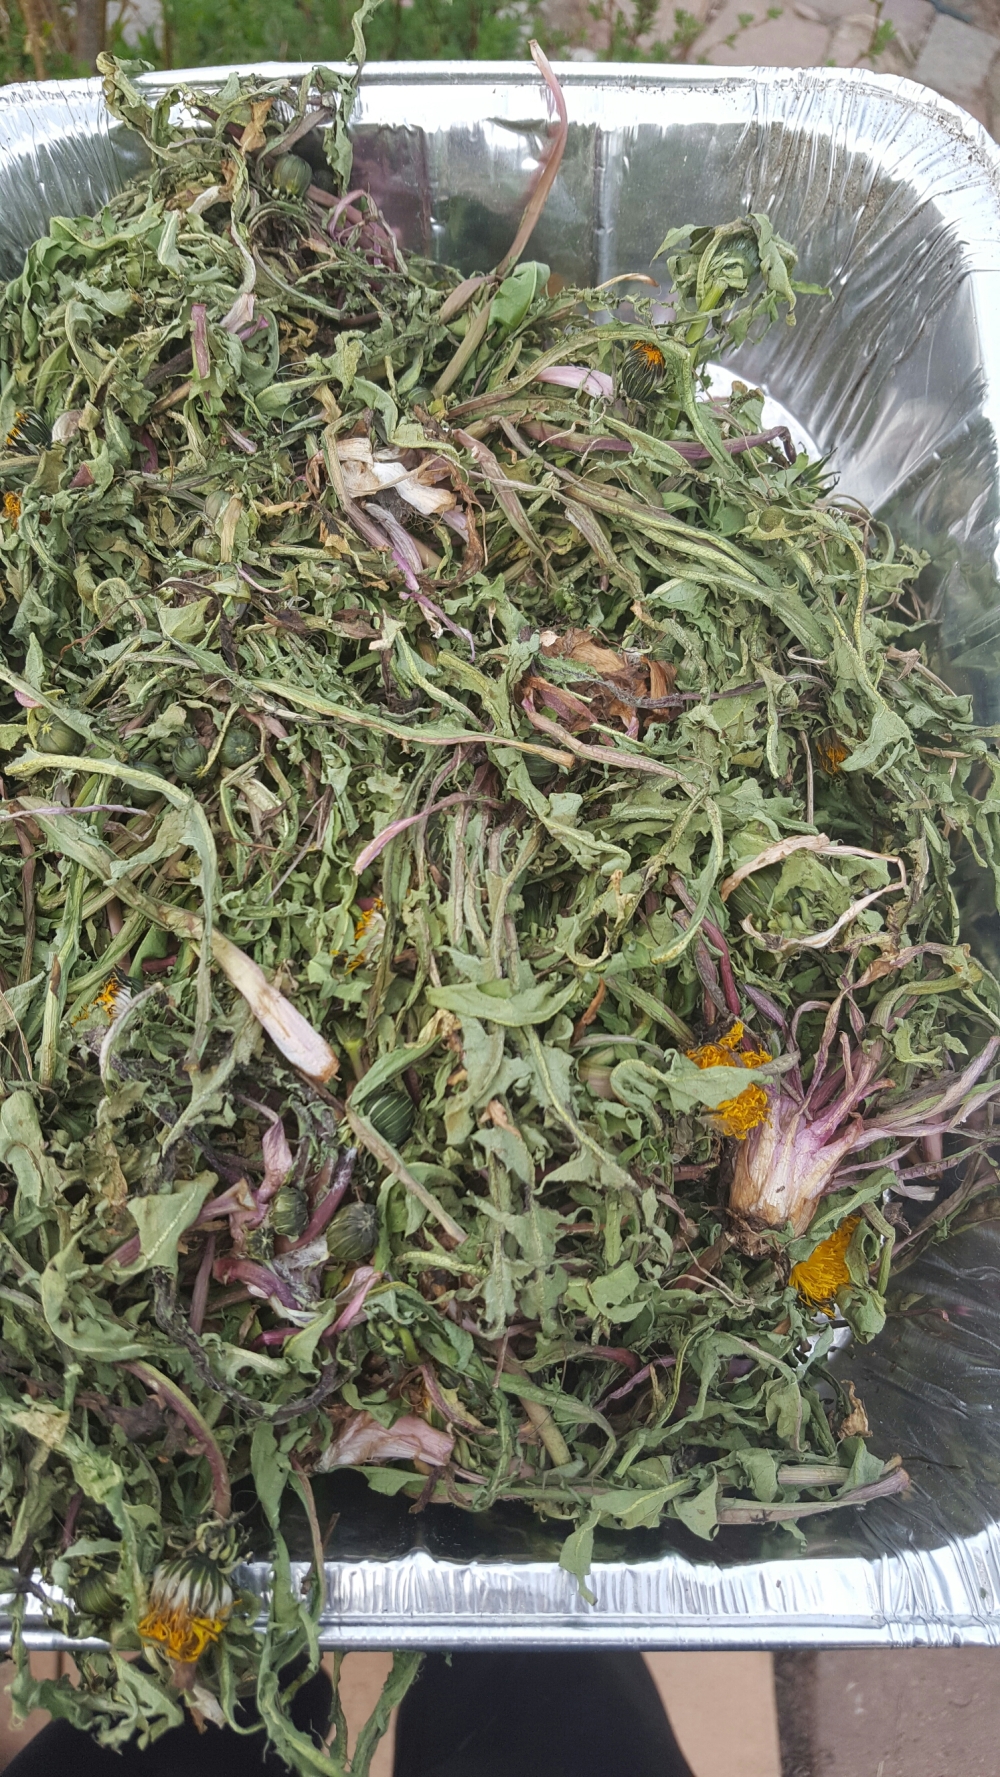
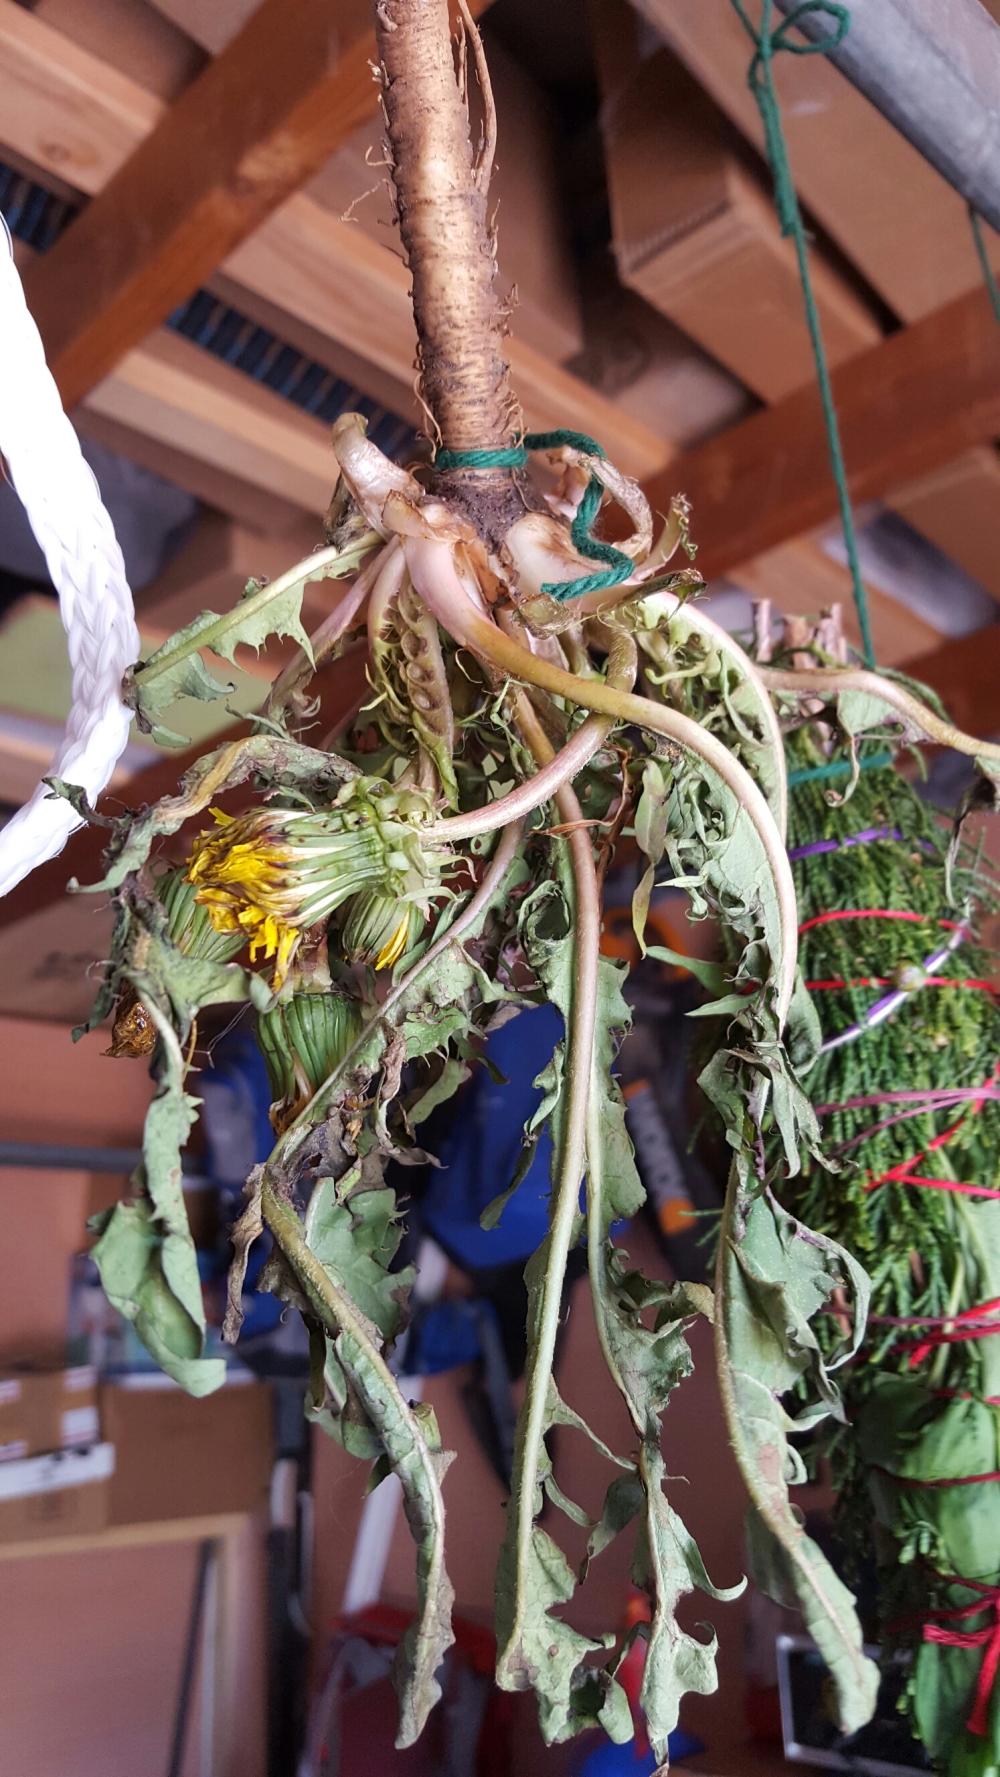
4. Pan or hang dry. I personally like to pan dry my herbs for teas in trays because I work in bulk and it’s just easier. All I do is after the plants are THOROUGHLY dry, lay them out on aluminum trays (you can get then at the dollar store). The other option is to hang dry, gather the plants at the base of the stem, wrap with string and hang plant-facing down.
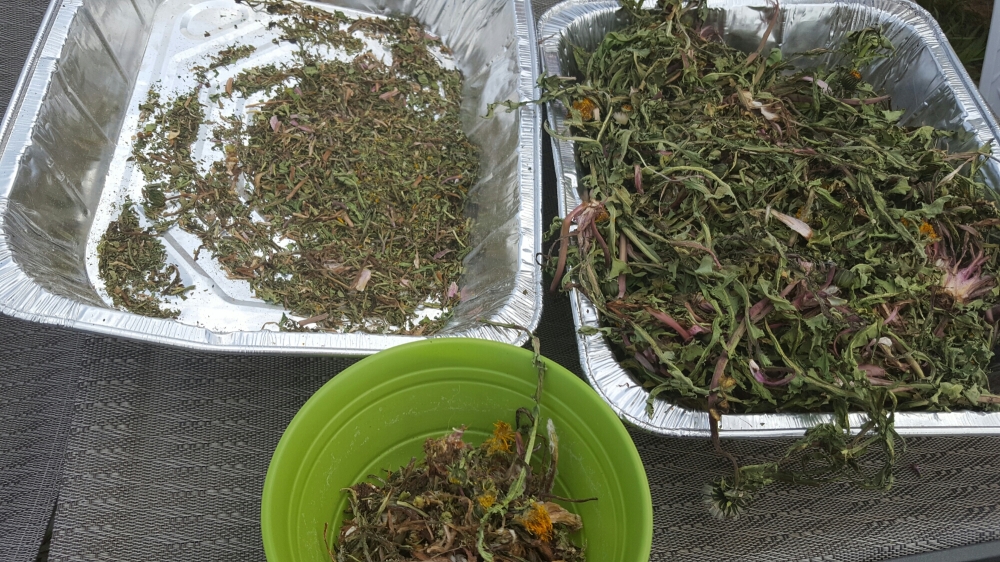
5. Drying times vary, about 3-5 seems to be typical. Store in a cool dry area (like a garage or basement). With pan drying you need to rotate the plants around daily at least. Hang drying requires no turning or maintenance. You can dry in the sun for way faster drying, but it tends to remove the flavor and over dry the plant.
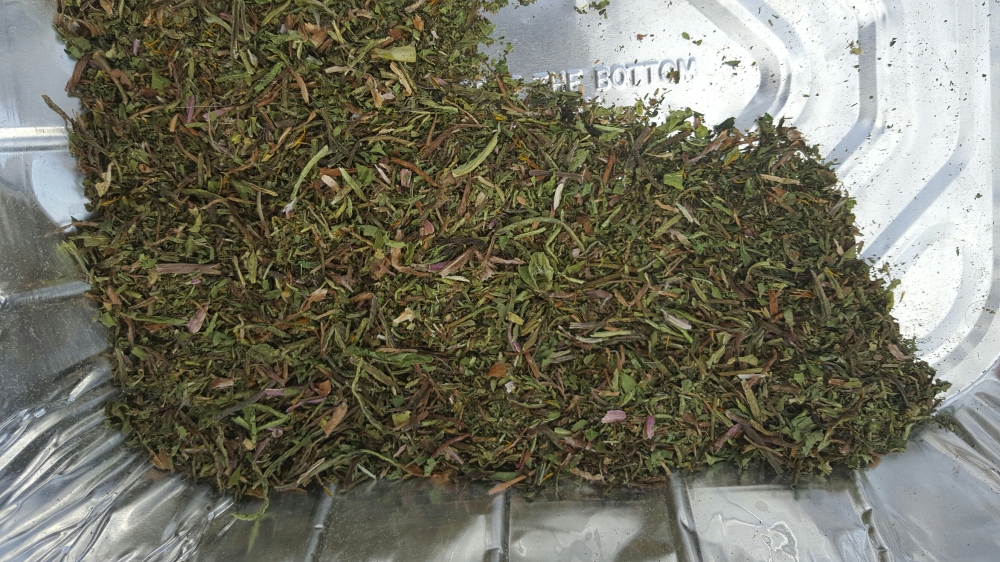
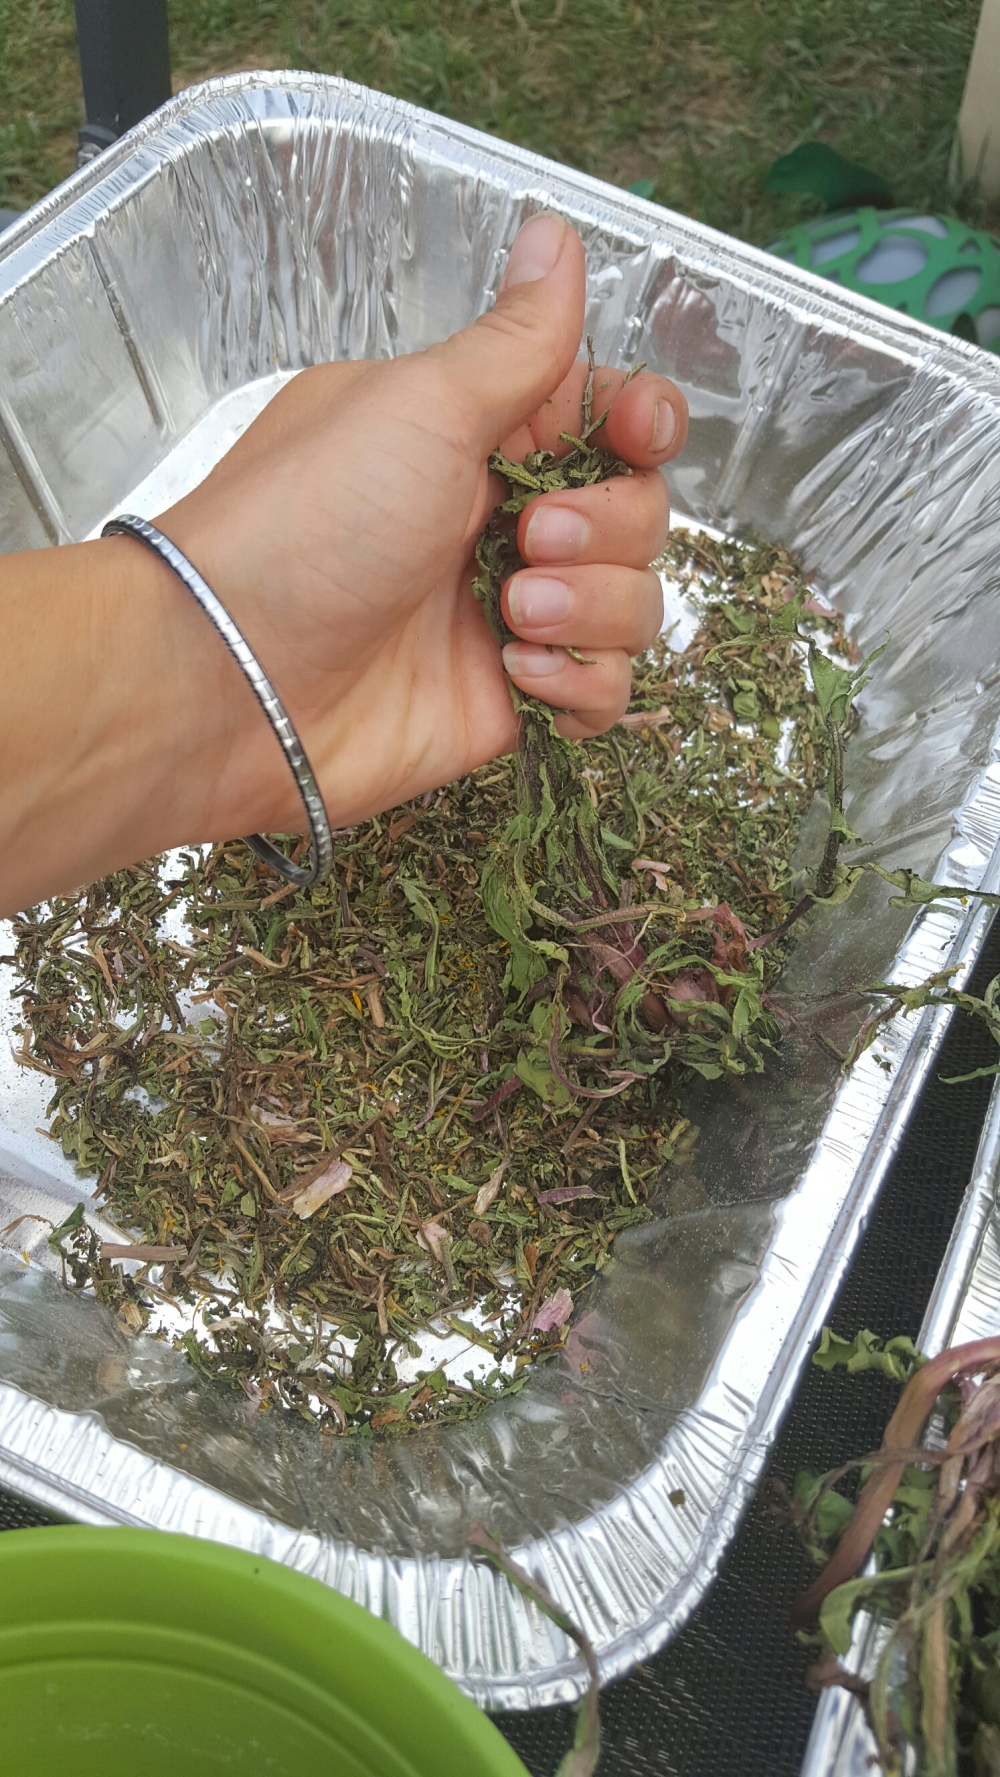
6. When the plant is totally dried out (crispy), I crush the plant remove large stems and pieces. You can sift for more refined tea if desired, (I do not do this.)
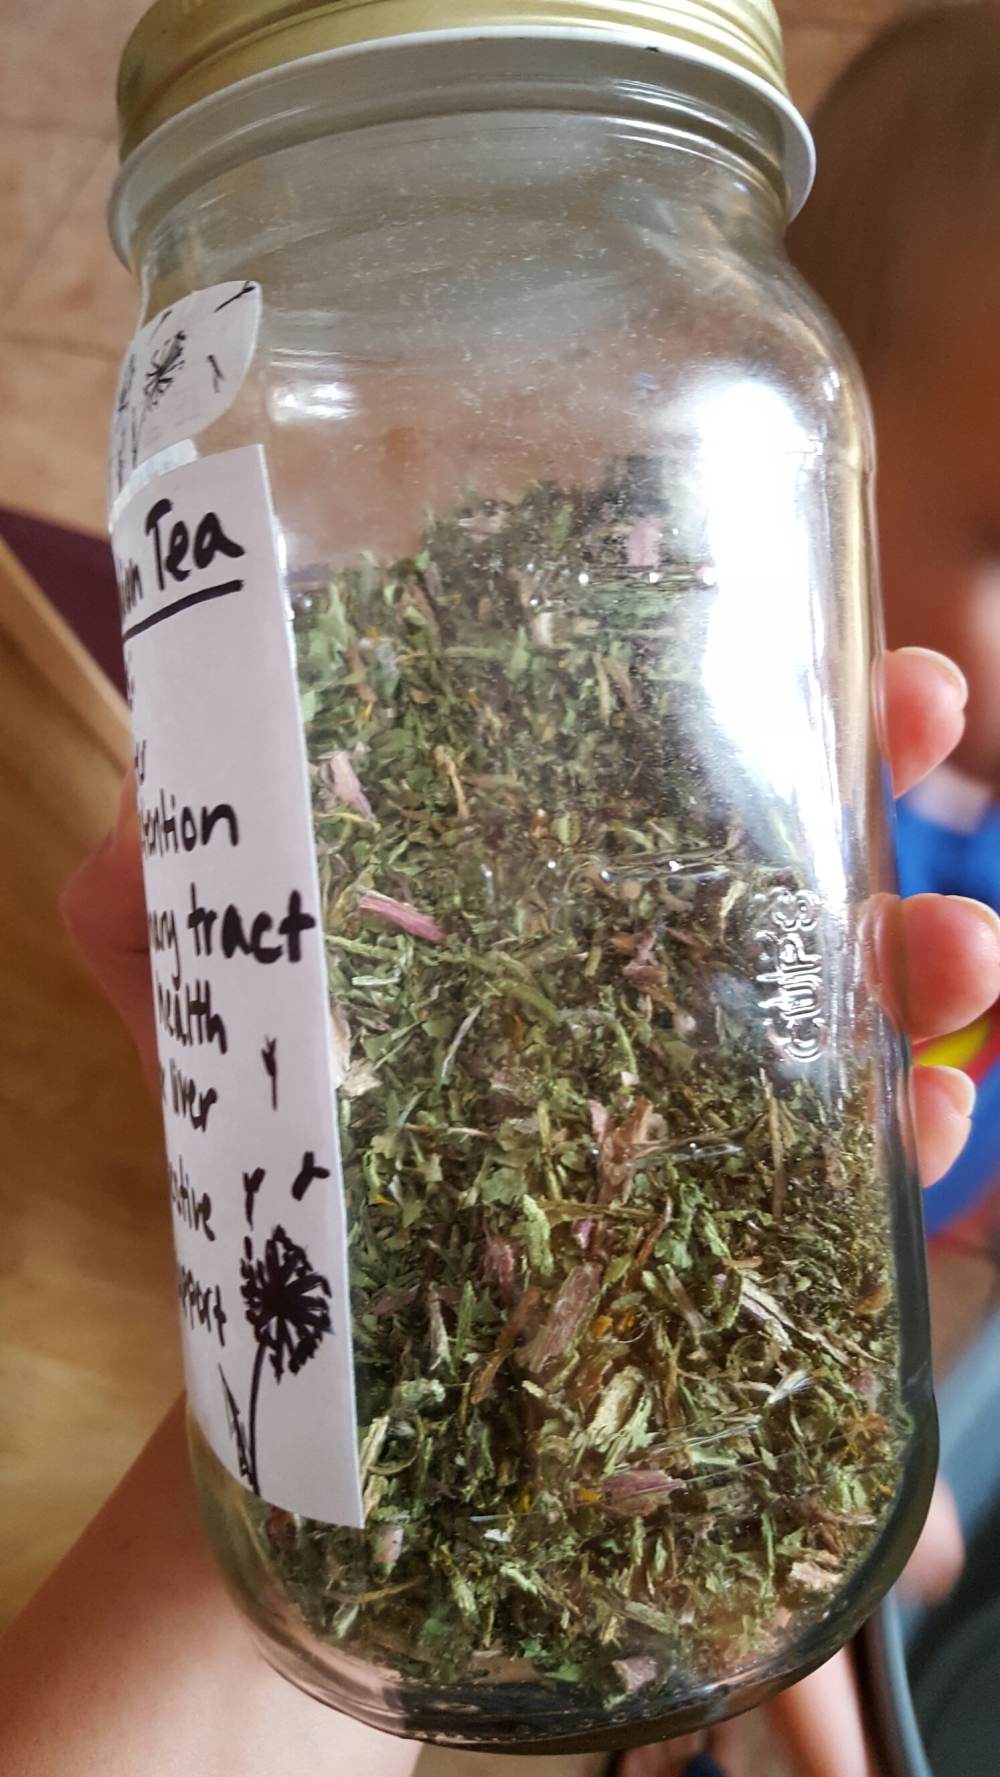
7. That’s it! Put it in a glass jar and you’re good to go!
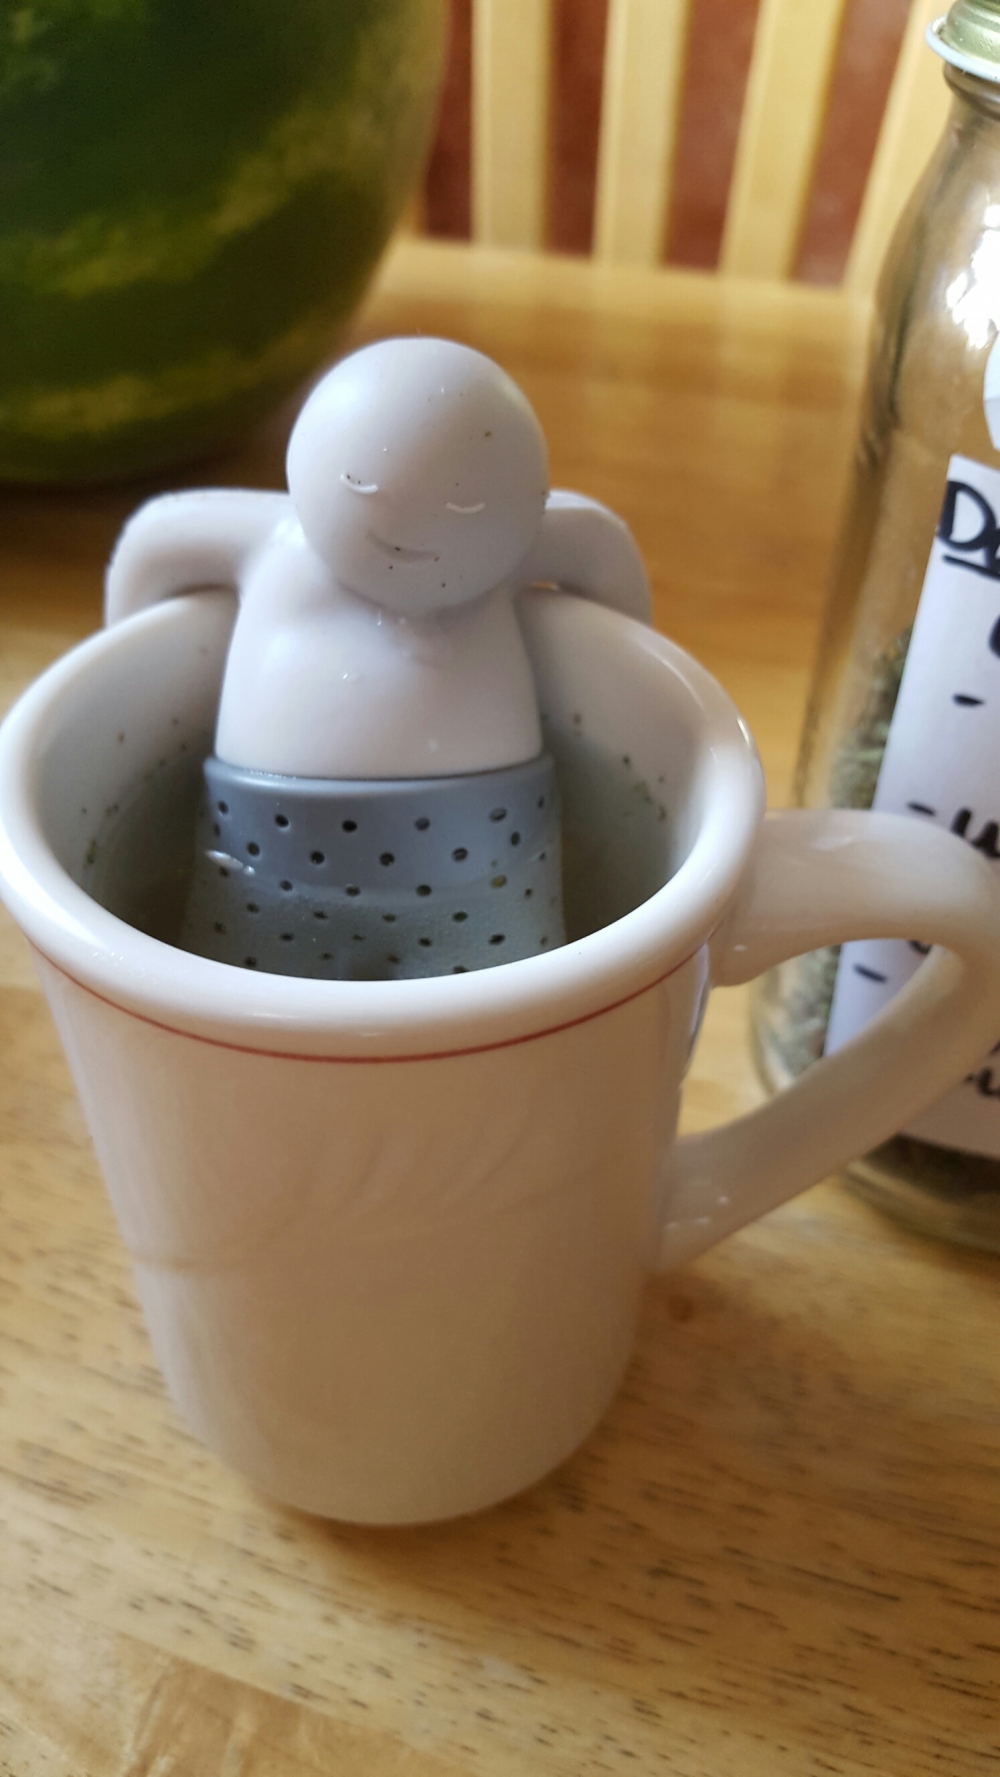
Steep in boiling water for 2-10 minutes depending on desired strength in a tea infuser.
You can do this really with any herb you have in your garden. (Keep in mind you want to do your own research to make sure what is safe, don’t just start drinking random plants before you know what they are and if they are safe to use in tea!)
Some other herbs I use include:
Spearmint
Lemon Balm
Sweet Woodruff
Horsemint
Just to name a few.
I am always doing super cool DIY projects, and hope to start posting a ton of them soon!
Happy teaing!
This post was written for creative and inspirational purposes only! 🙂

